CARE AND FERTILIZING YOUR GARDEN USING ORGANIC LIQUID SOLUBLE FERTILIZERS

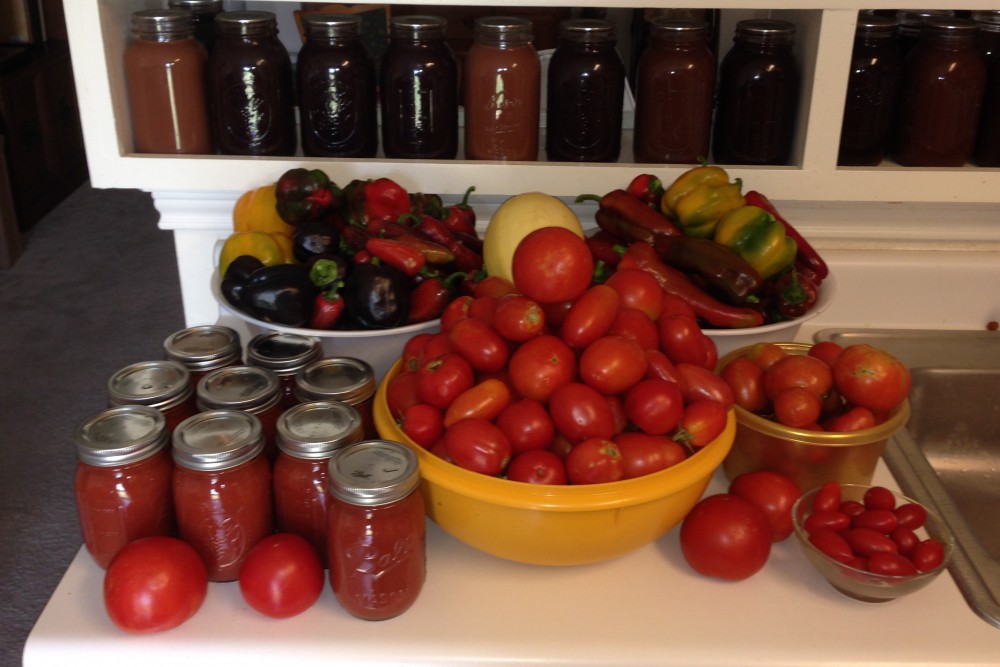
In my vegetable garden, I still have indeterminate hot season tomatoes that are producing and my peppers, okra and cucumbers are doing well. They are doing well because I hand water them daily in the evening and I applied regimen of a deep soak of fish emulsion/kelp/epson salt solution at the base of my plants with alternating applications of a kelp foliar spray. (I buy all my ingredients at Bloomer’s my local nursery/garden center in Elgin, TX)

Here is a truth: Container and raised bed gardens suck the nutrients out of the soil. So for most of the year I augment my plant’s needs with a solution of fish emulsion, kelp and epsom salts. I will tell you how my recipe and how I use these at the end of this blog, but first let’s discuss why a gardener needs to use both when caring for his garden. Most gardeners know about the macronutrients that are important to their plants health: nitrogen, phosphorous, potassium, magnesium, calcium, and sulfur. On most packages we see them listed in the order of the primary three nitrogen -phosphorous – potassium. However most of those fertilizers do not include the micronutrients that plants need as well in much smaller quantities improving the health growth of your plants and also help your plants stave off garden pests and diseases.

Granular fertilizers are slow to be taken up by the plant, so if you apply granular fertilizer at the first sign of your leaves turning yellow, by the time the plant takes up the nutrients it may well be too late. Liquid soluble fertilizers offer a much more efficient and timely way of getting nutrients to your plants. Plants are capable of taking in the nutrients they need through their leaves as well as their roots. Whereas deep soaks will provide a ready supply yet at a slightly slower up take of nutrients, foliar sprays work quickly to give your plants the micronutrients they need, and often in just the nick of time.

Fish emulsion is an organic water soluble, fast-acting fertilizer that contains about 5% nitrogen 1% phosphorous and 1% potassium.  Fish emulsion is fast acting which means that the plant can use the nitrogen right away.  However because fish emulsion is fast acting in providing quick nutrients to your vegetables this means you will need to apply it ever 2-3 weeks. Note: Fish emulsion does have a pungent fish smell, so I do wear gloves when preparing it so as not to have that smell on me the rest of the day.

Kelp/Seaweed extracts contain small amounts of nitrogen, phosphorus, and potassium, however but not in enough quantities that plant need. What Kelp/Seaweed extracts contain that the plants need are strong concentrations of trace minerals, micronutrients, amino acids, and vitamins essential to plant growth.  In addition kelp/seaweed extract contains many growth hormones which stimulate cell division and larger root systems.

In order to accomplish the optimum results for your plant’s needs, you will need to combine two products to fully provide your plants with the nutrients the plants need. In both instances a solution both fish emulsion and Kelp/Seaweed extracts can be applied as a foliar spray or as a soil soak and Kelp by itself is an excellent way to reduce transplant shock.

THE RECIPE:
I use the following mixture: For each gallon of water: 2 T Kelp, 2 T Fish Emulsion, 1 T Epson Salts.

APPLICATION:
I do a deep soak by pouring this solution in the center of my raised garden bed every two weeks. Sometimes I will alternate the deep soak with foliar application. I primarily like to do a deep soak by pouring this solution in the center of my raise garden bed every two weeks. If you want to do this weekly, you need to make your solution half strength or you run the potential of damaging your plants.

In the dry hot of the late Texas summer I find that the use of fish emulsion as a foliar spray tends to cause leaf burn following the directions on the leave. This is why during this time of the gardening year I use the fish emulsion/Epson salt mixture as a deep soak for my plants one week and I apply the seaweed as a foliar spray the following week. Then I give one week rest and resume the same application cycle again. Remember to spray foliar sprays either early in the morning or late in the evening to avoid evaporation as you spray and also any leaf burn from the hot afternoon sun. It is very important to use recommended rates because these extracts are so potent.

For more information on the products I use

Alaska Fish Fertilizer 5-1-1 Concentrate

Neptune’s Harvest SW136 Organic Seaweed Plant Food

Pennington Epsom Salt, 7-Pound

Central Texas Vegetable Gardens in August

I still have indeterminate hot season tomatoes that are producing or have fruit maturing on the vine. My peppers, okra and cucumbers are doing well. They are doing well because I hand water them daily in the evening. This past weekend I applied a deep soak of fish emulsion at the base of my plants. Now here is a trick about tomatoes. You CAN get a second life from your healthier tomato plants if you still have them in the ground. This is what I spent time doing on Saturday. For more information on how to do this you can read my blog at Second life for your tomatoes

This is the time of the year that I get out there in the cool of the morning hours and begin to prepare for my fall garden. (I actually garden three gardens, spring/summer, Fall, and Winter. HOWEVER there are certain things that you CAN plant.

This is the time when you can plant the following seed crops in the ground (Beans, cucumber, garlic, potatoes, shallots, summer squash, okra, black-eyed peas, New Zealand and Malabar spinach, winter squash). You can also set out starter plants (Okra, New Zealand or Malabar spinach, summer or winter squash).

You can also begin to plant the following vegetable seeds in seed flats or in the ground. You will want to provide some shade from the hot afternoon sun by building an shade awning. I recommend inexpensive rebar over which you can drape shade cloth. These are some of the plants you can begin to start in flats: Broccoli, Brussels sprouts, cauliflower, chard, Chinese cabbage, fennel, kale. Toward the later part of August you can begin to plant some of your greens: Collards, lettuce and mustard.


Why I use cardboard in my square foot and raised bed gardens.

The first raised beds I installed, I scraped the site, put my box down, filled it up, and planted my garden. To my dismay I had a profusion of weeds come up from the soil below my beds.  What to do…What to do?  The next growing season I took some heavy cardboard boxes (plain, not painted of covered with the plastic coating that many come with nowadays). I dug out my beds, picked the frame up,  laid the cardboard boxes down and laid the frame down on top of the card board boxes, and filled my boxes up again.  Walla! No more weeds (except what the birds or winds blew in which were much easier to manage).  Using card board provided a barrier for the weeds reaching the sun and in two growing seasons the cardboard had biodegraded.

Soil Mix for Raised Bed Gardening

The traditional Square Foot Gardening (SFG) mix is 1 part compost, 1 part peat-moss, 1 part vermiculite. I find that the traditional SFG mix does not do as well for Central Texas gardening and climates.  The traditional SFG mix requires intensive watering in Central Texas as it does not hold moisture in the direct sun and extreme heat we have.  I find I overcome this problem when I add 1 part soil to the mix.  The SFG soil mix formula I highly recommend using is ¼ of each of the following components: compost, organic soil, peat moss, and vermiculite.  I am partial to the Lady Bug brand of garden soil; it has won many awards and is highly rated and chock full of nutrients.  I like to use Cotton Burr Compost because of the good water retention properties it has which helps the soil retain moisture.  I prefer vermiculite over per-lite.  NOTE: Stay away from the bargain $1-$2 bags of soil.  They are full of sand. I used these in the beginning and my soil became like concrete instead of the light fluffy mix it stays when I use a higher grade organic soil.Image

How to Figure Soil Volume for Raised Beds:

The following is the formula that to use when calculating how many square feet of product you will need:

 Volume = length x width x depth

Divide Volume by 324 = cubic yards

Multiply cubic yards by .27 = cubic feet needed to fill box

Notes on Peat Moss: Peat moss is very powdery and will blow everywhere when you try to mix it into the Square Foot Garden Soil Mix….Unless you wet it down. I do this by punching a hole in the peat moss bale and inserting the garden hose. I let the bail fill up with water and then let it sit for about an hour before I go to make my SFG soil mixture.Image

Notes on Cardboard and Filling the Boxes: The first raised beds I installed, I scraped the site, put my box down, filled it up, and planted my garden. To my dismay I had a profusion of weeds come up from the soil below my beds.  What to do…What to do?  The next growing season I took some heavy cardboard boxes (plain, not painted of covered with the plastic coating that many come with nowadays). I dug out my beds, picked the frame up,  laid the cardboard boxes down and laid the frame down on top of the card board boxes, and filled my boxes up again.  Walla! No more weeds (except what the birds or winds blew in which were much easier to manage).  Using card board provided a barrier for the weeds reaching the sun and in two growing seasons the cardboard had biodegraded.

Fill the SFG box with the SFG soil mixture components…and this is where I have the most fun…using my hands I reach in and begin mixing the SFG soil ingredients as if I were making a big tossed salad until I have an even distribution of all the soil components through-out the mix.Image

Here is the finished product. The dimensions of this box is 3’x4′. From start to finish this took me 2 hours to complete going through all the steps outlined in this primer.

Image

Not Enough Bees to help with you pollinating?

One of the problems that urban and suburban gardeners is lack of bee activity. I plant lemon basil at the edge of my garden and the heart of my garden and draw all kinds of bee activity in my veggie patch. And when the wind blows it smells like lemons on the air.  If you are lacking bees in your garden consider planting these in and around your garden.

Bees are in danger and that means we all are in danger. Please plant some plants that bees love and need in your gardens…and here's a list to help!</p>
<p>Illustration by Hannah Rosengren, https://www.etsy.com/shop/HannahRosengren

Ilustration by Hannah Rosengren, https://www.etsy.com/shop/HannahRosengren

Illustration by Hannah Rosengren, https://www.etsy.com/shop/HannahRosengren

Tomatoes – Something consider when planning your garden

Are you planning your next tomato patch and suffered poor pollination in your patch this last year? Plants like tomatoes, peppers and squash are both wind and bee pollinated. Backyard gardeners have a hard time attracting bees to their garden and wind is often limited by structures and fences. I find that when I plant lemon basil plants in the middle of my patch I attract all kinds of bees. I allow them to go to flower. They send off spike-lets of flowers that the bees love. They will hop from tomato and pepper flower on their way to the lemon basil and on the way back to the hive. When the wind blows you have the added benefit of a gentle lemon odor on the breeze.

Thom’s Primer on Square-Foot Gardening

Square-Foot Gardening made easy

Materials: First step in square foot gardening: Build the box. You can use almost any type of material.  I have used brick, stone, and lumber constructing my raised beds and square foot gardening beds.  I prefer and recommend using 2 x 6 western cedar boards as they are rot resistant and resistant to bug damage.  The following image is of a 2’x2′ box made of 5″ wide cedar picket fence boards. This is a good starter box if you are not sure that this is the way you want to garden.  Cedar pickets are relatively inexpensive and again tend to be more rot resistant than pine boards.  In the past I avoided treated lumber because of the arsenic that they used in the treatment process that could potentially leach into the soil. Recently I read several articles that Yellow Wood and other treated lumbers are safe to use for vegetable raised bed gardens as they use copper to treat the lumber, not arsenic. Still, you might want to seal the inside of the box with Latex paint.  Note that residents of the City of Austin Residents looking to save money can get FREE re-blended flat latex paint in 5 gallon containers from Austin Resource Recovery.

How to Build the Boxes: Measure and cut your boards so that the inside dimensions for your box are evenly divided foot lengths; for example using to build a 2 foot box using 2’x6’ cedar lumber I cut my lumber in 2’1.5” lengths.  I cut the four boards all the same length and assemble them lapping them one end over the other all the way around. This way the inside dimension of the box will be 2’x2′ sq ft. I always pre-drill all my screw holes to avoid the lumber from checking. I use dacrotized deck screws when assembling my boxes. Once I had my materials collected this box took me about 15 minutes to cut and build.

Image

Soil Mix for Raised Bed Gardening: The traditional Square Foot Gardening (SFG) mix is 1 part compost, 1 part peat-moss, 1 part vermiculite. I find that the traditional SFG mix does not do as well for Central Texas gardening and climates.  The traditional SFG mix requires intensive watering in Central Texas as it does not hold moisture in the direct sun and extreme heat we have.  I find I overcome this problem when I add 1 part soil to the mix.  The SFG soil mix formula I highly recommend using is ¼ of each of the following components: compost, organic soil, peat moss, and vermiculite.  I am partial to the Lady Bug brand of garden soil; it has won many awards and is highly rated and chock full of nutrients.  I like to use Cotton Burr Compost because of the good water retention properties it has which helps the soil retain moisture.  I prefer vermiculite over per-lite.  NOTE: Stay away from the bargain $1-$2 bags of soil.  They are full of sand. I used these in the beginning and my soil became like concrete instead of the light fluffy mix it stays when I use a higher grade organic soil.Image

How to Figure Soil Volume for Raised Beds:The following is the formula that to use when calculating how many square feet of product you will need:

 Volume = length x width x depth

Divide Volume by 324 = cubic yards

Multiply cubic yards by .27 = cubic feet needed to fill box

 Notes on Peat Moss: Peat moss is very powdery and will blow everywhere when you try to mix it into the Square Foot Garden Soil Mix….Unless you wet it down. I do this by punching a hole in the peat moss bale and inserting the garden hose. I let the bail fill up with water and then let it sit for about an hour before I go to make my SFG soil mixture.Image

Notes on Cardboard and Filling the Boxes: The first raised beds I installed, I scraped the site, put my box down, filled it up, and planted my garden. To my dismay I had a profusion of weeds come up from the soil below my beds.  What to do…What to do?  The next growing season I took some heavy cardboard boxes (plain, not painted of covered with the plastic coating that many come with nowadays). I dug out my beds, picked the frame up,  laid the cardboard boxes down and laid the frame down on top of the card board boxes, and filled my boxes up again.  Walla! No more weeds (except what the birds or winds blew in which were much easier to manage).  Using card board provided a barrier for the weeds reaching the sun and in two growing seasons the cardboard had biodegraded.

Fill the SFG box with the SFG soil mixture components…and this is where I have the most fun…using my hands I reach in and begin mixing the SFG soil ingredients as if I were making a big tossed salad until I have an even distribution of all the soil components through-out the mix.Image

Here is the finished product. The dimensions of this box is 3’x4′. From start to finish this took me 2 hours to complete going through all the steps outlined in this primer.

Image

PLANTING YOUR SQUARE-FOOT GARDEN: There are several good resources/links for Central Texas Gardeners.  Check your local garden centers or Extension Office for areas outside of Central Texas.  If you go to a local Nursery/Garden Center you will be able to talk to knowledgeable specialists on what will grow best in your area.  Generally, box stores have a one size fits all approach so they will likely carry the same plants in California as they do in Maine.

SPACING YOUR PLANTS IN A SQUARE-FOOT GARDEN: Plant spacing is the distance apart you plant several of the same plant. In square foot gardens, that can be expressed as #/sqft (how many plants per square foot) or simply by inches in each direction. For instance, carrots are planted 16 carrots per sq.ft or 3″ apart.  There are exceptions for certain vines or large plants that do not fit into individual square feet. The following is a list of some of the spacing I found to work best for some of the more popular/common plants you might find in a kitchen garden:Image